Removing Gemini AI Watermarks: A Deep Dive into Reverse Alpha Blending
An open-source tool to cleanly remove those pesky watermarks from your AI-generated images.
I recently discovered an open-source Gemini watermark remover that delivers excellent results. While the original author, Allen Kuo, created a Windows command-line program, the community has since developed web versions and Tampermonkey scripts based on his work.
I personally tested these tools and found them to be incredibly fast and effective. The Tampermonkey script, in particular, is a game-changer—it automatically removes watermarks directly on the Gemini webpage.
Project Links:
- GitHub (Original Windows Tool):https://github.com/allenk/GeminiWatermarkTool
- GitHub :https://github.com/journey-ad/gemini-watermark-remover
- Web Version:https://banana.ovo.re
The underlying logic of this tool is quite interesting, relying on a reverse alpha blending algorithm. The author provided a series of mathematical formulas that, while complex to the uninitiated, produce results that are shockingly precise.
The Problem: Beautiful Images, Annoying Watermarks
If you’ve been using Google’s Gemini AI for image generation—whether it’s Gemini Nano, Gemini Flash, or Gemini Pro—you’ve probably noticed that every generated image comes with a semi-transparent watermark in the bottom-right corner.
While transparency about AI-generated content is important, there are legitimate scenarios where these watermarks become a headache:
- Presentations: Preparing slides for a business meeting where the watermark is distracting.
- Design mockups: The watermark clashes with carefully crafted layouts.
- Personal creative projects: Needing a clean image for mood boards or concept art.
- Social media content: The watermark distracts from the visual story.
Introducing Gemini Watermark Tool
The Gemini Watermark Tool is a lightweight, standalone utility designed to remove these watermarks accurately and efficiently.
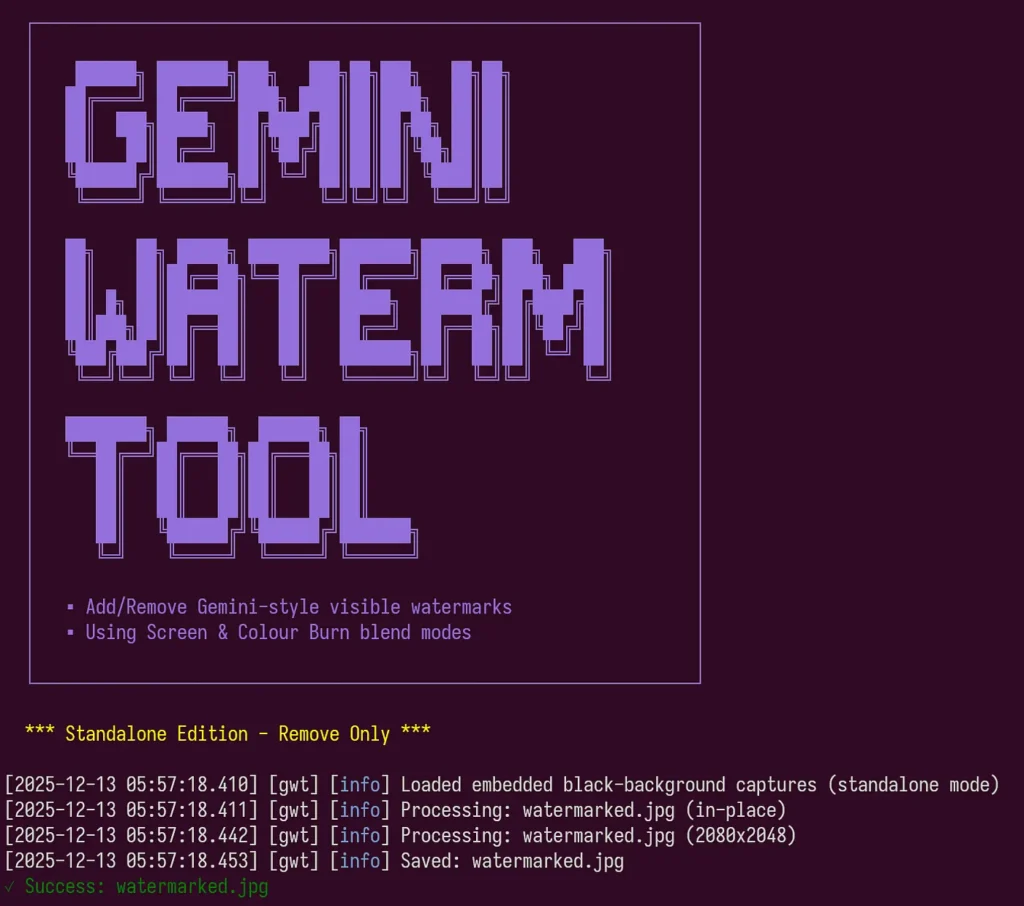
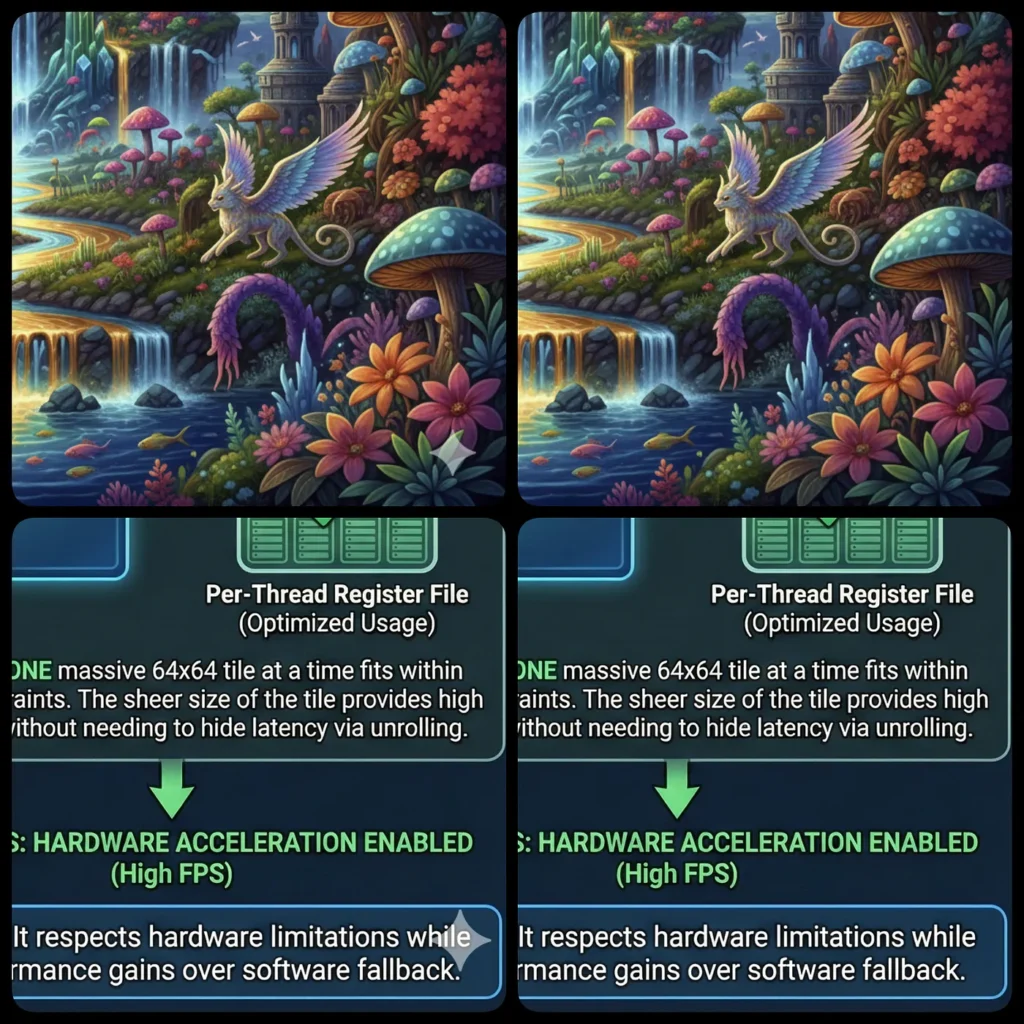
Key Features
- One-click removal: Drag and drop an image onto the executable (Windows version).
- Batch processing: Process hundreds of images in seconds.
- Mathematically accurate: Uses reverse alpha blending, not crude inpainting.
- Zero dependencies: Single
.exefile, no installation required. - Open source: MIT licensed, free to use and modify.
How to Use (Windows Version)
The Simplest Way: Drag & Drop
- Download
GeminiWatermarkTool.exefrom the GitHub releases page. - Drag your watermarked image onto the executable.
- The watermark is removed in-place.
Command Line Usage
For more control:
# Remove watermark, save to new file
GeminiWatermarkTool.exe -i watermarked.jpg -o clean.jpg

# Process an entire folder
GeminiWatermarkTool.exe -i ./input_folder/ -o ./output_folder/

# Force specific watermark size (if auto-detection fails)
GeminiWatermarkTool.exe -i image.jpg -o output.jpg --force-small
Watermark Size Detection
Gemini uses different watermark sizes based on image dimensions:
| Image Dimensions | Watermark Size | Margin |
|---|---|---|
| W ≤ 1024 or H ≤ 1024 | 48×48 pixels | 32px |
| W > 1024 and H > 1024 | 96×96 pixels | 64px |
The tool automatically detects which size to use, but you can override it with --force-small or --force-large.
The Technical Magic: Reverse Alpha Blending
This is where it gets interesting. Most people assume watermarks are simply “stamped” onto images. But Gemini uses something more sophisticated: alpha blending.
The formula is:
watermarked = α × logo + (1 - α) × original
Where:
watermarkedis the final pixel value you see.originalis the original pixel value (what we want to recover).α(alpha) is the transparency factor (0 = fully transparent, 1 = fully opaque).
This creates that semi-transparent overlay effect.
Reversing the Process
By statistically analyzing and comparing values, we can reconstruct the Alpha map. Once α is known for every pixel, we can algebraically reverse the blending formula:
original = (watermarked - α × 255) / (1 - α)
For each pixel in the watermarked region:
- Get the alpha value from the pre-computed alpha map.
- Apply the reverse formula.
- Clamp the result to the valid range [0, 255].
The result is a mathematically accurate reconstruction of the original pixel values.
Why This Works Better Than Alternatives
- Inpainting: Guesses what pixels should be, often creating artifacts.
- Clone stamping: Manual and inconsistent.
- Content-aware fill: Can produce blurry results.
This approach doesn’t guess. It calculates the exact original values using the known watermark pattern. The only error comes from minor 8-bit quantization, which is imperceptible.
For Developers
The tool is open source under the MIT License.
- Source Code:github.com/allenk/GeminiWatermarkTool
Building from Source
# Clone the repository
git clone https://github.com/allenk/GeminiWatermarkTool.git
cd GeminiWatermarkTool

# Configure with vcpkg
cmake -B build -S . \
  -DCMAKE_TOOLCHAIN_FILE=[vcpkg-root]/scripts/buildsystems/vcpkg.cmake \
  -DVCPKG_TARGET_TRIPLET=x64-windows-static \
  -DSTANDALONE_MODE=ON

# Build
cmake --build build --config Release
Disclaimer
This tool is provided for personal and educational use. Always backup your original images before processing. Respect content policies and legal implications.
Share this post
Related Posts


The Complete Guide to Nano Banana Pro: 10 Tips for Professional Asset Production
Nano‑Banana Pro transforms AI visuals from fun to professional—master prompting, edit iteratively, ensure legible text, ...
Introducing Google Antigravity
A New Era in AI-Assisted Software Development Every advancement in model intelligence for coding has encouraged us to re...